Node.js is a popular, event-driven JavaScript runtime you can use to build robust web applications. If you already familiar with creating Node.js apps, you may be wondering how to get your app onto a shared server, a hosting environment in which you are limited in customization. Node.js requires some configuration of your server environment. But now, you can use a virtual environment within your shared hosting environment that allows for the customization necessary to run your app. Learn how to setup a Node.js in cPanel below.
- Setup Node.js App in cPanel
- Stopping and Restarting Your App
Setup Node.js App in cPanel
- Log into cPanel
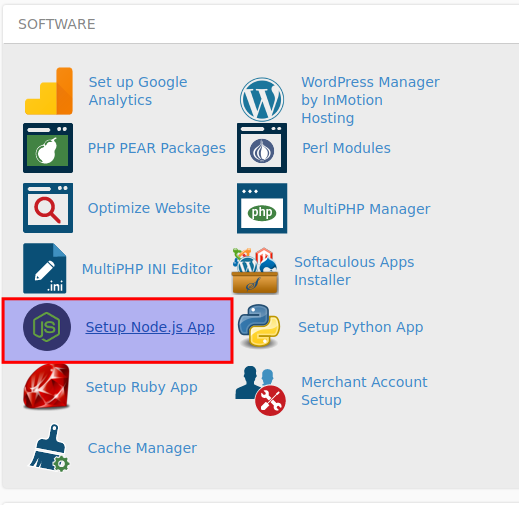
- Choose Setup Node.js App under Software
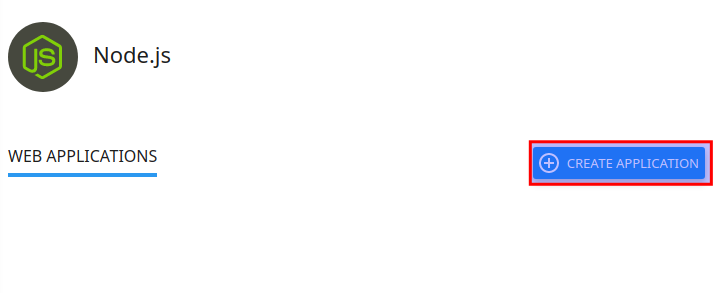
- Click Create Application (002)
- Fill in the Application root field (this is the directory in which you will upload for application files)
- Select your Application URL and startup file (if you do not name a startup file,
app.jsis used as the default) - Fill in the remaining fields with your preferred values
- Click Create when ready
Stopping and Restarting Your App
You can also stop and restart your app whenever you may need. This can be done easily from the cPanel interface.
- Log into cPanel (as you did above)
- Choose Setup Node.js App under Software
- Select your app from the list of exsting applications
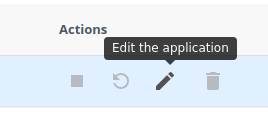
- Click to stop, restart, or edit your application under the Actions table
Well done! You now know how to setup a Node.js app in your cPanel.
